



Create customized payment links instantly & get paid, faster
Offer customers multiple payment methods via one convenient link, so you get paid faster and with lower fees
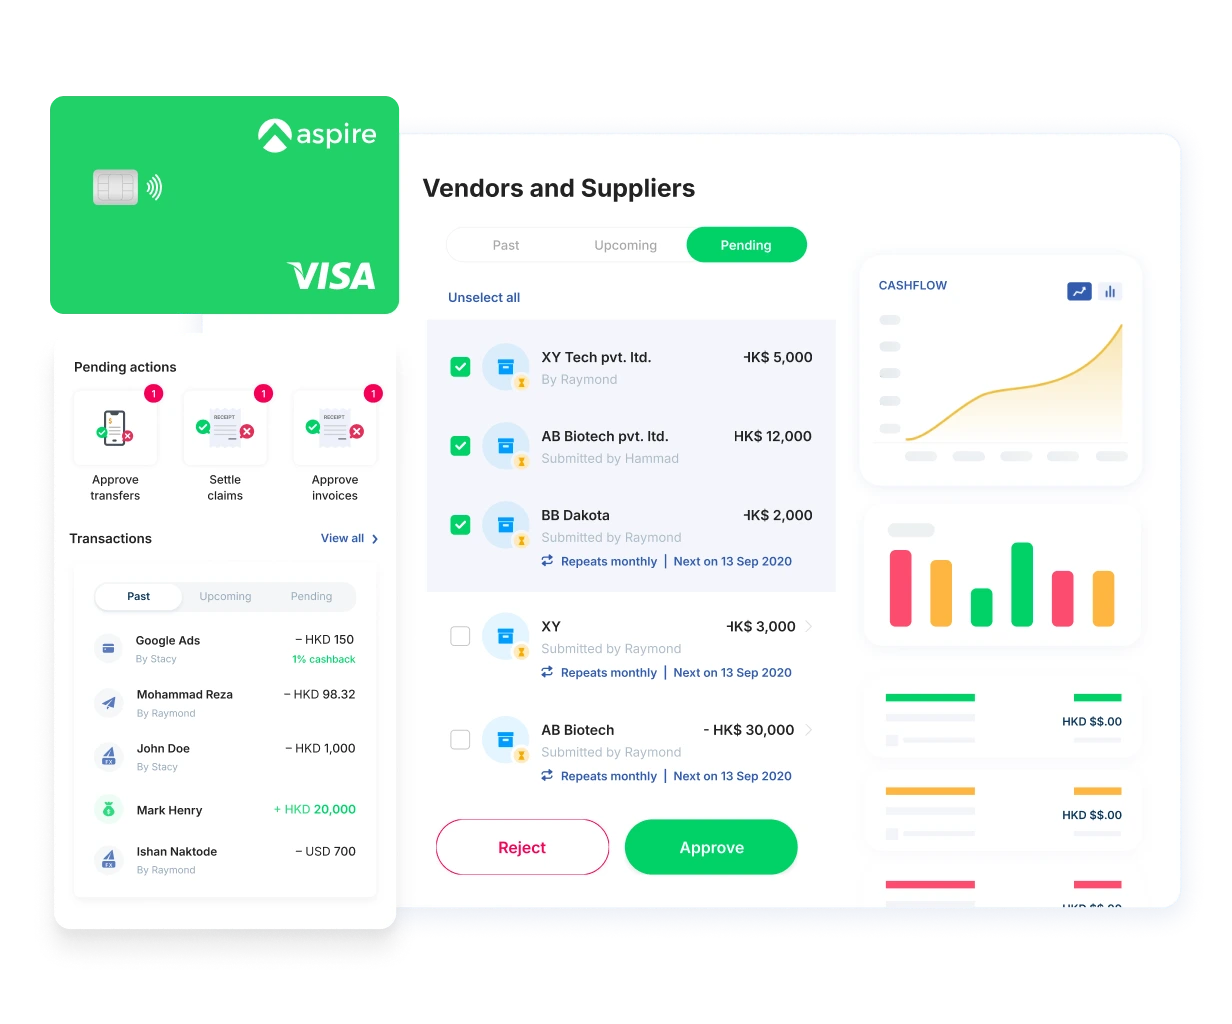
Trusted by 50,000+ modern businesses







Simple, yet powerful

Easy and customisable
Set up links in seconds, and customise your details and payment options

Get paid faster
Provide multiple options for customers to pay quickly and conveniently, or limit options to save on fees

Real-time updates
Set up alerts and get notified when you get paid
Expand your business to a wider audience
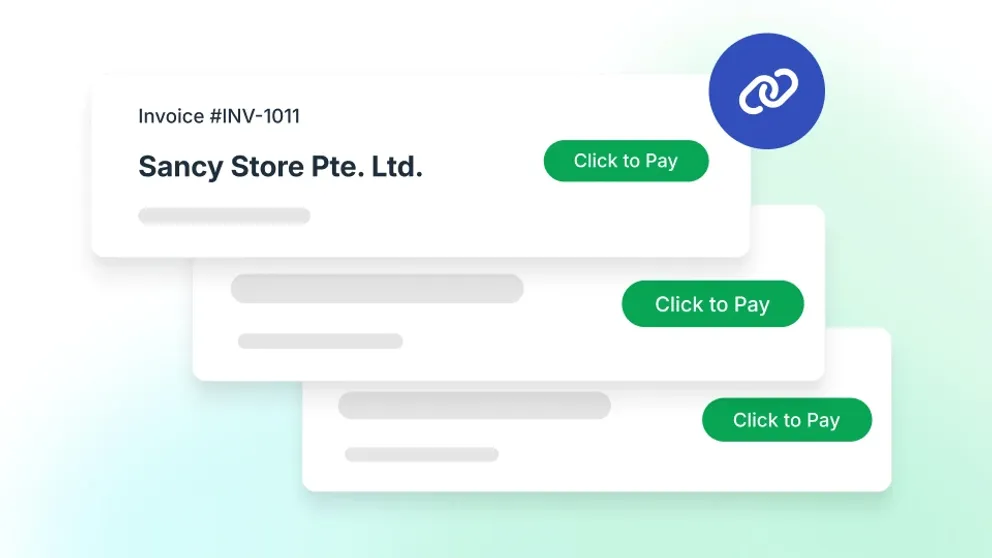
Instantly set up payment links, within seconds
Set up one-time payment links, input details, and send it to get paid.
Send the payment link anywhere - via email, social media, or messaging apps
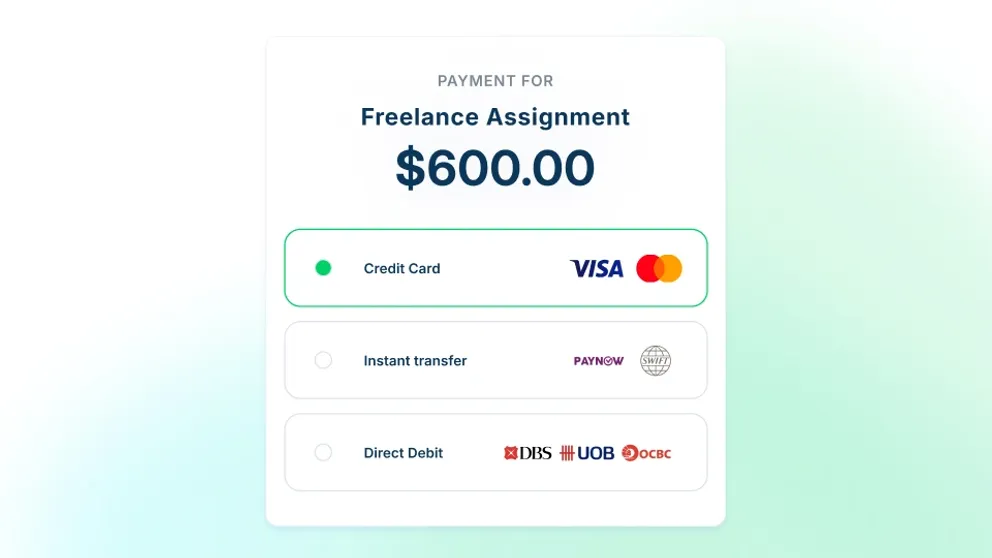
Give customers various options to pay, or save on processing fees
Customise your payment link to offer multiple payment methods to your customers.
Get paid faster when you make it convenient for them to pay you. Or select low-fee options to improve that bottom line
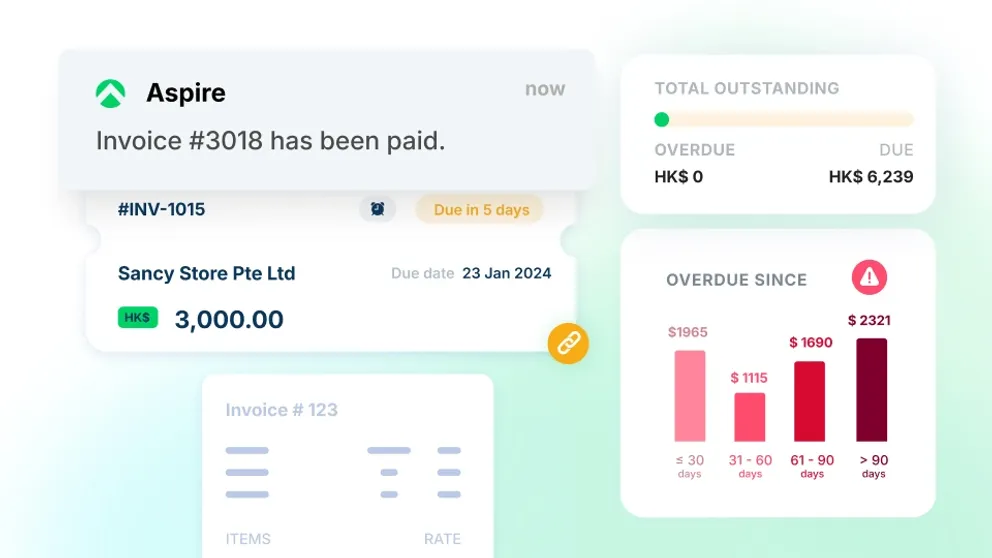
Get instant payment notifications
Receive notifications around-the-clock, so you’ll know the moment you get paid
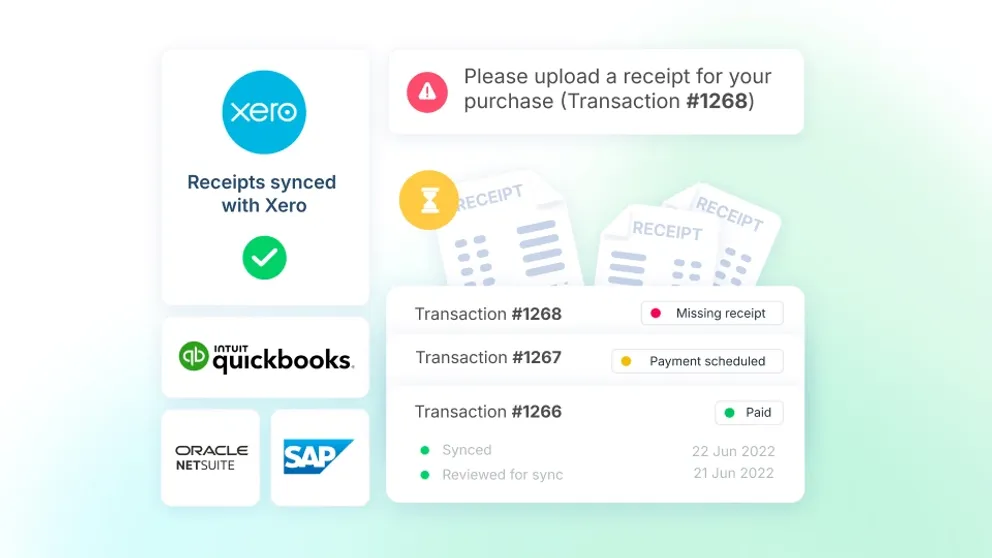
Integrated with your accounting software
Close your books twice as fast, with all transactions synced with major accounting software.
When you're building in hyper-growth mode, there's no room for errors
Hear it first from our customers

Gregory Van
CEO of Endowus
 Read the case study
“As a startup, we needed more flexible solutions to support our increasing needs, as well as ones that’d make the most financial sense in supporting our growth.”
- Saved per year
- $110,000
- Saved per year
- 900hrs

Chai Yang
Finance Director
 Read the case study
“It was challenging to recognise costs efficiently with manual processes. With Aspire, we have control and visibility into all expenditure, allowing us to act swiftly and make informed decisions.”
- Saved per year
- 1,664hrs
- Saved per year
- $35,320

Sagar Khatri
Co-Founder at Multiplier
Read the case study“For organisations with many moving parts like ours, budgeting is important. Being unable to view our state of expenses at any given time causes challenges to modern businesses like ours.”
- Saved per year
- 760hrs
- Saved per year
- $73,000
Start receiving payments today

FAQs about Aspire Payment Links
You can send payment link requests from your USD, SGD, EUR and HKD debit accounts. As of January 2023, we've added an exciting new feature that allows you to send payment links directly to your customers.
This feature is available on all subscription plans, and Admin and Finance users can create payment links.
To ensure auto-reconciliation is successful, the payee must meet certain conditions. Check out the guide below for SGD & USD and IDR Payment links to learn how auto-reconciliation works:
Payment Links in SGD & USD
Our system will auto-match and mark your payment link as paid if the transfer is received in your SGD or Aspire USD account with the following conditions:
Payee placed the payment link reference number (e.g. PL-0011) on the transfer reference; AND
Payee transferred the exact amount shown on the Payment Link.
Note! We have also highlighted this on the Payment Link Portal to remind your customers to place the payment link invoice number on their transfer.
Payment Links in IDR
As long as your client pays the EXACT amount through the payment link gateway, our system will auto-match the transfer and mark your payment link as paid.
Do note that payments made through the payment link gateway will reflect on your account within 24 hours.
At times, your customers may pay you through other means such as cash. You can still manage your Payment Links by manually marking them as paid!
Admin and Finance Users can do this in-app by following the steps below:
Aspire Desktop Version
Go to Payment Links under the Receive section
Click on the payment link you wish to mark as paid
Select "Payments" Tab, then click "Mark as paid manually"
Place the transaction date and internal notes, then hit "Confirm"
Aspire Mobile App
Click on "Menu" at the bottom of the page
Scroll down to "Receive" section, then select "Payment Links"
Click on the payment link you wish to mark as paid
Select "Payments" Tab, then click "Mark as paid manually"
Place the transaction date and internal notes, then hit "Confirm"